Animated Gif From Konte Render
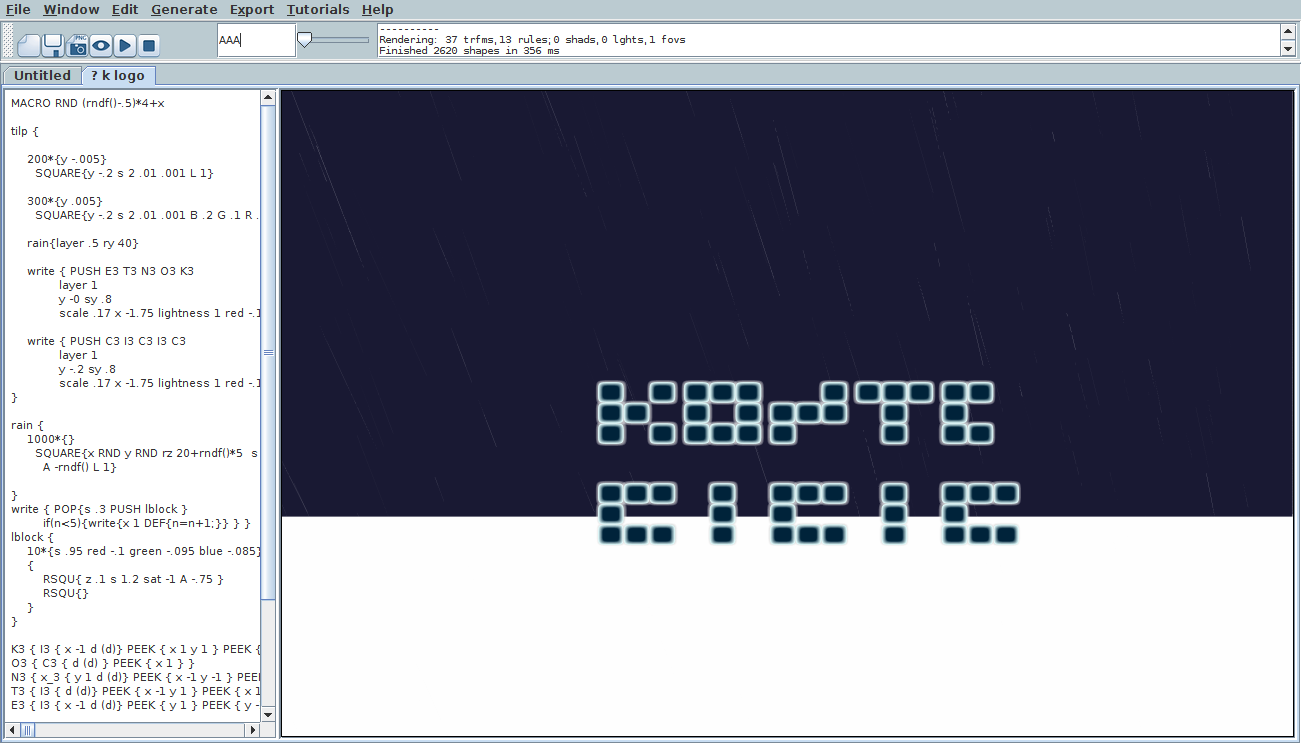
Konte is a little language for generating 3D scenes. You can create pngs of different sizes from command line or UI. I’ll sequence a render in the UI and convert it to an animated gif.
For following this through you will need Java 8 development kit, git, and also Maven and convert (command line graphics conversion tool).
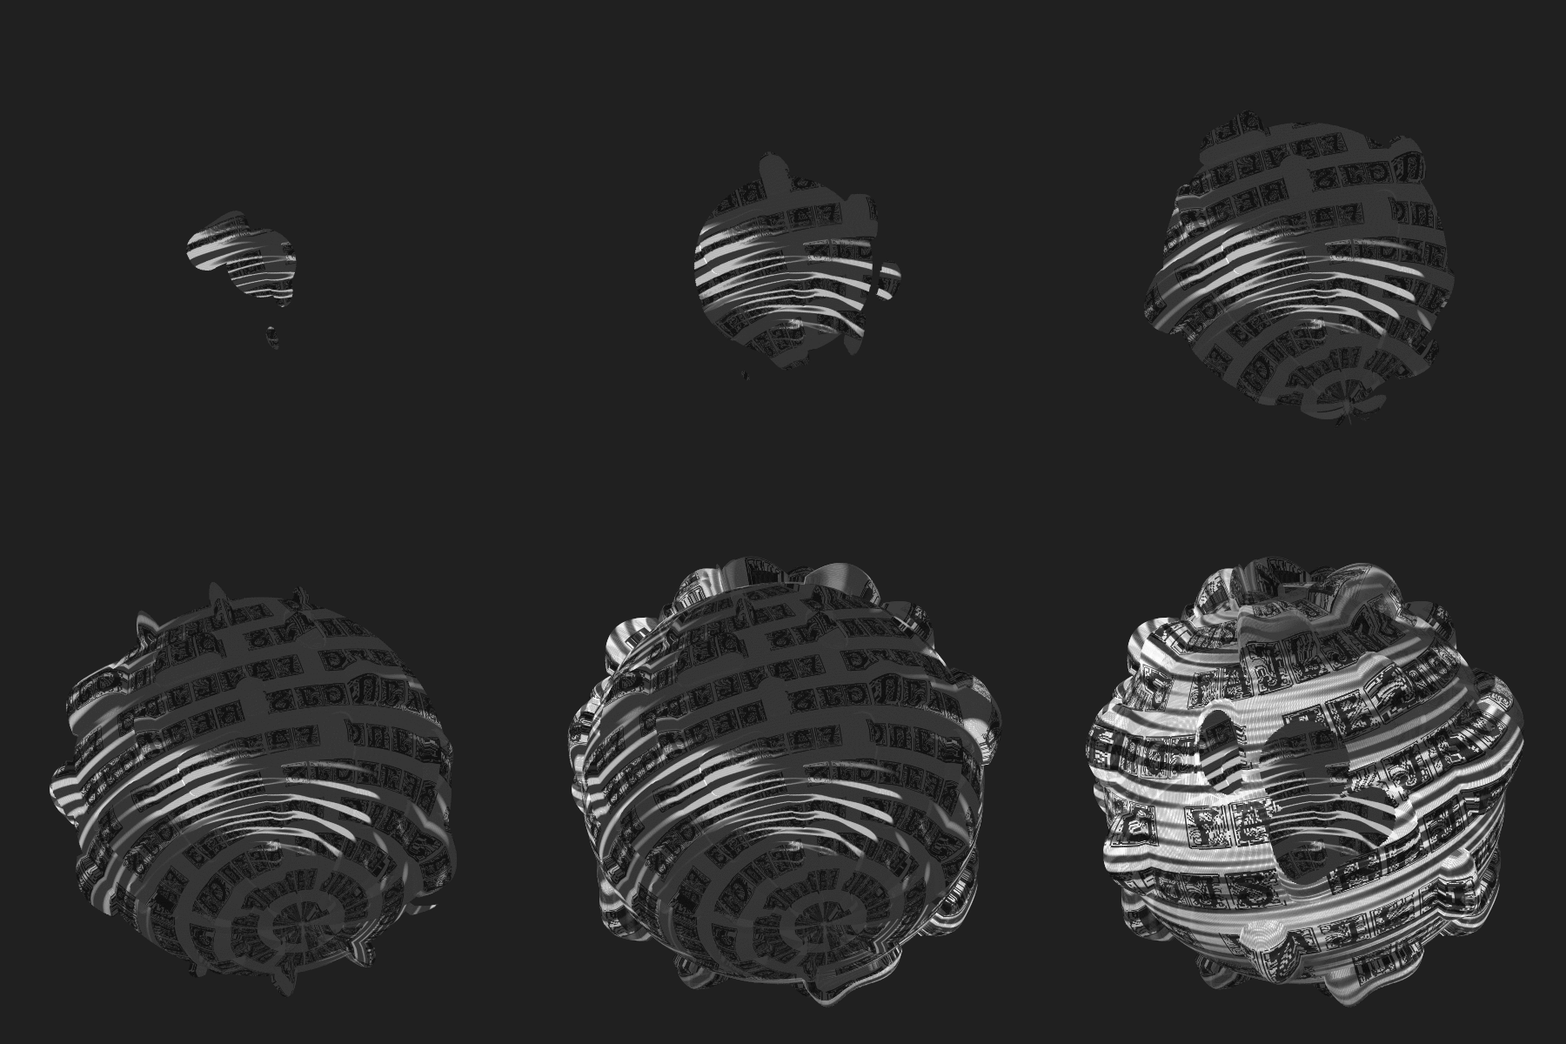
We will put together this:

(You can replace the texture and change the artifact shape if you like, but I’ll leave that to an excercise :)
So, let’s get that gif out of the viewport.
Da da da.
Da da da.
Da da da.
Da da da.
Da.
Now, (assuming git, java 8, maven):
$ mkdir konte
$ cd konte
$ git clone https://github.com/pvto/konte-art.git .
$ ls -lrt
# you should now see something like this:
total 128
-rw-r--r-- 1 paavo paavo  7633 helmi 21  2015 LICENSE
drwxr-xr-x 4 paavo paavo  4096 helmi 21  2015 src/
-rw-r--r-- 1 paavo paavo  1514 helmi 22  2015 pom.xml
drwxr-xr-x 3 paavo paavo  4096 helmi 23  2015 img/
drwxr-xr-x 2 paavo paavo  4096 helmi 27 23:30 plugin/
-rw-r--r-- 1 paavo paavo 19668 huhti 11 22:14 README.md
Copy texture.png directly into the img folder (we’ll use it in the script below).
If you have Java 8 and Maven installed (test by typing java -version,
mvn -version):
# this compiles a Java archive under *target* folder:
$ mvn clean install
# now run konte ui:
$  java -Xmx3072m -cp target/konte.jar org.konte.ui.Ui
If all is well and you have a graphical environment and all, a konte window opens and tries to occupy your first screen.

Press Ctrl+N to open a fresh tab.
Save texture.png
under img folder if you did not already do so. You should have:
$ find . -name texture.png
./img/texture.png
Copy-paste the konte code from the bottom of this page to editor pane (left side of window),
then hit Ctrl+S to save the script, then Ctrl+R for Render.
After the render completes – and it takes a few seconds –
hit Ctrl+E to save your newly generated image. konte places it automatically in the
same folder where you saved the script file and includes a timestamp in the filename.
After you have successfully rendered and saved a png, press Ctrl+Alt+R
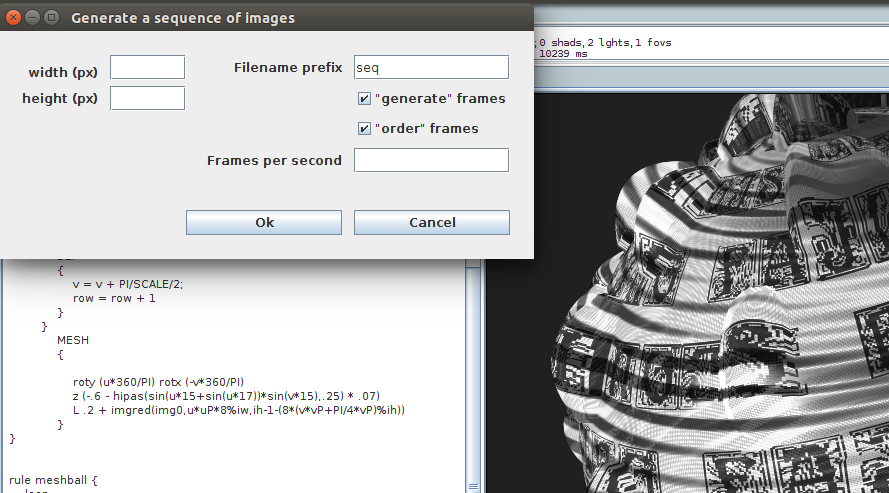
to open a Generate a sequence of images dialog. Feed 600 into both “width” and “height”,
and 10 to “Frames per second”, then remove the tick from “generate” frames checkbox.
Press Enter for ok, and wait for the render to complete.

Konte saves your sequence as individual png’s under seq folder. Quit konte (Ctrl+Q).
Next we’ll convert the sequence of images into a gif (assuming bash and convert).
# ensure we have bash shell for our convert script to work with
$ bash

$ cd seq
$ ls -lrt
total 5392
-rw-rw-r-- 1 paavo paavo   15806 elo   25 21:33 seq0032.png
-rw-rw-r-- 1 paavo paavo   20733 elo   25 21:33 seq0033.png
-rw-rw-r-- 1 paavo paavo   24324 elo   25 21:33 seq0034.png
-rw-rw-r-- 1 paavo paavo   30551 elo   25 21:33 seq0035.png
-rw-rw-r-- 1 paavo paavo   38381 elo   25 21:33 seq0036.png
# ...
# now just convert
$ convert $(for a in *.png; do printf -- "-delay 25 %s " $a; done; ) result.gif
$ ls -lrt|tail -n1
-rw-rw-r-- 1 paavo paavo 1883479 elo   25 21:43 result.gif
And that’s it. Congratulations! No hand was harmed while creating this picture :)
Below is the konte script to paste into your fresh tab.
If you find konte intriguing, there are some tutorials in the UI. Also there is a more deep tutorial at the konte source page, including a few more graphical examples like trees and cartoon cities.
camera { z -2 }
bg{RGB #202020}

DEF MOD 6
DEF CLUST 85

light {AMBIENT s .5}
light {PHONG specular 10 alpha 100 s 5 {RGB 1 1 1}
  point(
    -1+sin(v*CLUST)+sin(v*u*CLUST/1.5)*3,
    sin(u*CLUST/30),
    -2+sin(u*v*CLUST*.1)
  )
}

startshape meshball
DEF SCALE 1000


include "img/texture.png" img0


rule loop {
    (SCALE) *  {  DEF { u = u + PI/SCALE} }
        (SCALE) *
        {
            DEF
            {
                v = v + PI/SCALE/2;
                row = row + 1
            }
        }
            MESH
            {

                roty (u*360/PI) rotx (-v*360/PI)
                z (-.6 - hipas(sin(u*15+sin(u*17))*sin(v*15),.25) * .07)
                L .2 + imgred(img0,u*uP*8%iw,ih-1-(8*(v*vP+PI/4*vP)%ih))
            }
}


rule meshball {
    loop
    {
        s 1.2 ry -30 rx 30
        DEF {
            mesh = 1;
            u = PI/4;
            v = -(PI/4);
            ambient = .5;
            diffuse = .2;
            iw = imgwidth(img0);
            ih = imgheight(img0);
            uP = imgwidth(img0)/PI/2;
            vP = imgheight(img0)/PI/2;

        }
    }
}

